
Learning how to clean a sink drain can save you from that familiar moment when you turn on the faucet and notice yesterday’s smell coming back. A basin may look spotless while hair, soap residue, food scraps, and greasy film collect just below the opening. Fortunately, routine cleaning usually starts with simple tools rather than a cupboard full of strong chemicals.
The trick is to work out what needs attention. A dirty stopper calls for scrubbing. A hair tangle needs removing. Standing water or repeated backups may mean a blockage that surface cleaning cannot reach. This guide walks through everyday maintenance, sensible troubleshooting, and habits that help keep both kitchen and bathroom sinks pleasant to use.
Why Sink Drains Get Dirty
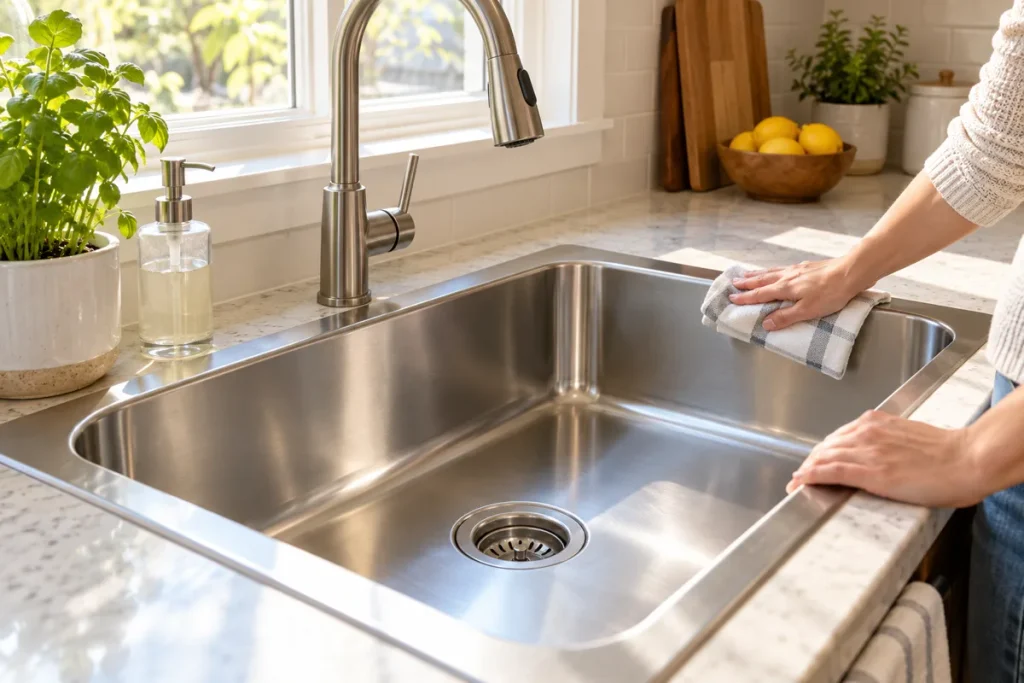
Everyday washing sends small amounts of debris toward the drain. Some passes through, but some catches around the stopper, strainer, or pipe walls. Over time, that residue can become a sticky surface that holds even more material.
Kitchen sinks tend to collect cooking fats, food particles, and detergent residue. Bathroom sinks are more likely to gather hair, shaving debris, toothpaste, and soap. The underside of a stopper can look surprisingly grimy even when the visible chrome is shiny.
Moist residue can also develop a slimy film that contributes to odors. However, a smell does not automatically mean there is a clog. A rarely used sink may have a dry trap, while recurring sewer-like odors may indicate a plumbing problem. Look at drainage, smell, and leaks together before choosing your next step.
Supplies for Learning How to Clean a Sink Drain
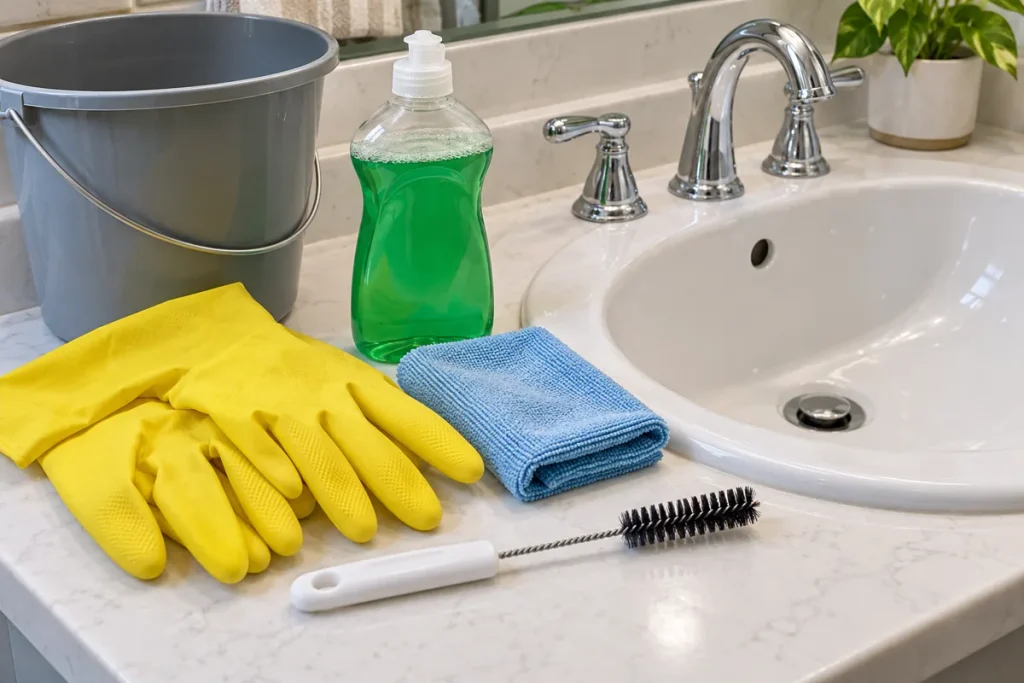
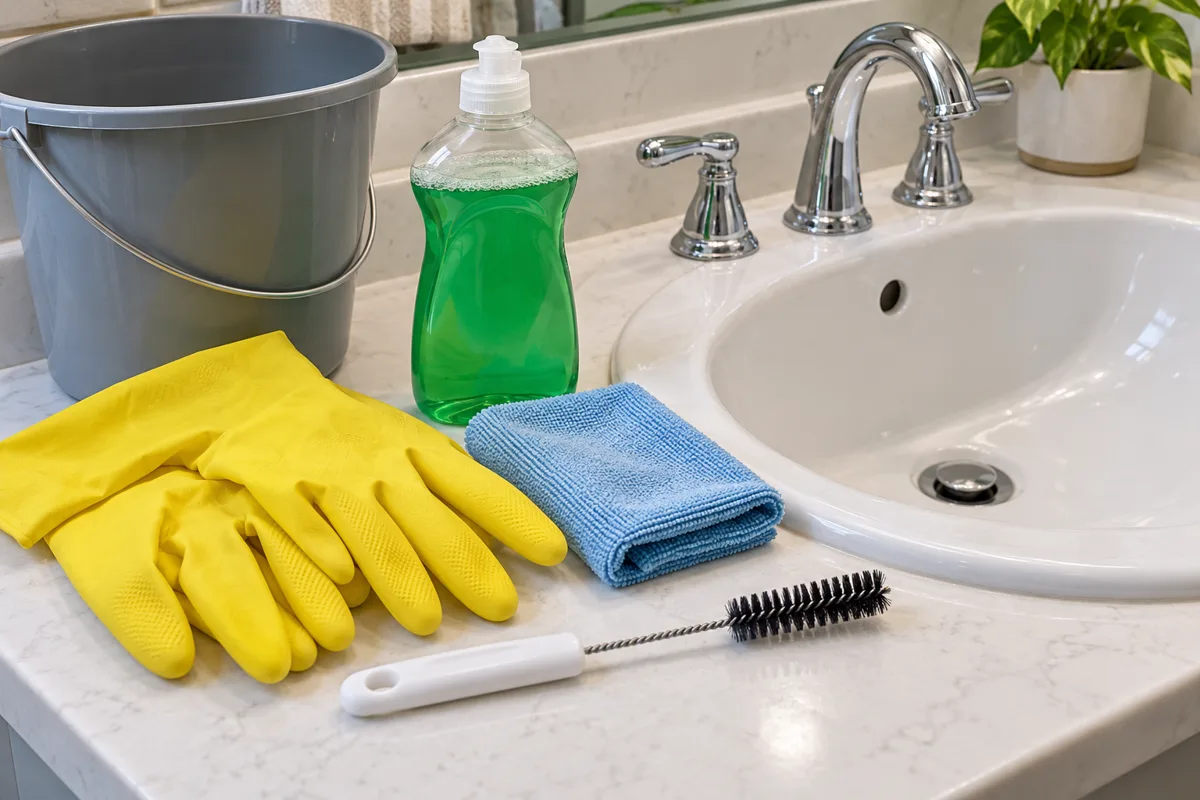
Gather these items before starting:
- Household cleaning gloves and splash-protective eyewear.
- Mild dish soap and comfortably warm water.
- A small nylon brush or a brush designed for drains.
- A microfiber cloth and paper towels.
- A shallow bucket to catch drips if needed.
- A sink plunger or plastic hair-removal tool for an appropriate blockage.
Keep tools used inside drains separate from brushes used on dishes. Have a trash bag nearby so you can throw away debris instead of washing it straight back down.
Check your sink and drain manufacturer’s care instructions, especially for coated finishes, unusual stoppers, or garbage disposals. You may not need every tool listed. Start with the least involved method that matches the problem.
Check These Safety Points First
Find out whether anyone has recently poured a chemical drain opener into the sink. If so, do not add another cleaner, plunge, insert tools, or dismantle the pipework. Follow the product’s instructions and tell a plumber exactly what was used if the drain remains blocked.
Never mix cleaning products. In particular, vinegar and chlorine bleach can release irritating chlorine gas. Corrosive drain cleaners can also cause serious burns, including from splashback.
Use warm tap water for this routine rather than assuming boiling water is suitable for every basin, seal, and pipe material. Protect nearby stone surfaces from unsuitable cleaners.
If your sink has a garbage disposal, disconnect its power before cleaning accessible components, following the appliance instructions. Never put your hand inside the unit. Stop if you encounter damaged fittings, active leaks, or connections you cannot identify confidently.
The Basic Cleaning Method, Step by Step
For routine maintenance, how to clean a sink drain comes down to removing accessible debris, washing the parts that hold it, and checking the flow afterward. This approach suits a sink that still drains and has no chemical cleaner sitting inside it.
1. Empty the Basin and Clear the Opening
Remove dishes, toiletries, and anything else around the sink. Lift out loose food scraps or visible hair with a paper towel and put them in the trash.
If the basin contains standing water, treat it as a drainage problem rather than continuing with a routine rinse. Do not keep adding water to see whether it will eventually disappear. First establish whether chemicals have been used and whether other fixtures are affected.
2. Remove the Strainer or Stopper Correctly
Lift out a removable kitchen strainer. Bathroom stoppers vary: some lift out, some unscrew, and others connect to a pivot mechanism beneath the basin.
Check the instructions for your particular assembly before pulling or twisting. Forcing a stopper can damage the mechanism. If removing it requires disconnecting unfamiliar parts, clean what you can reach safely and leave the rest for someone experienced.
Place small components in a tray. Taking a quick photo before disassembly can make reassembly easier.
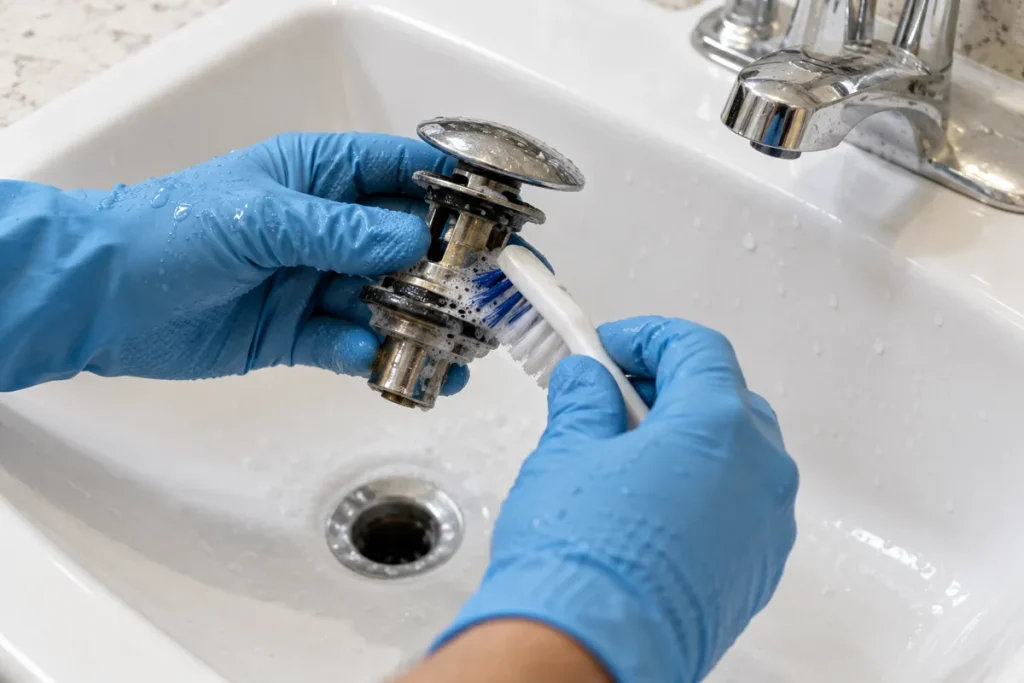
3. Scrub the Removable Parts
Wash the stopper or strainer in warm water with a little dish soap. Use a nylon brush to loosen residue around its underside, edges, and any accessible slots.
Pull away hair and wipe off heavy buildup before rinsing. Pay attention to rubber seals without stretching or scraping them. If a seal looks cracked or a component is badly corroded, cleaning alone will not fix it.
4. Brush the Accessible Drain Entrance
Use a suitably sized brush to clean just inside the drain opening. Work gently around the accessible walls, withdrawing the brush regularly to wipe away loosened material.
Avoid pushing debris deeper into the pipe or forcing the brush past internal parts. A brush is useful for surface film; it is not a substitute for a drain cable when a blockage lies farther downstream.
5. Rinse, Reassemble, and Test
Rinse the cleaned surfaces with warm tap water. Reinstall the stopper according to its instructions and check that it opens and closes normally.
Run a modest stream of water and watch how quickly it leaves the basin. Inspect any connections you disturbed for drips, then check again after a short period of use. A cleaner smell is encouraging, but reliable drainage and dry connections are the more useful signs of success.
How to Clean a Sink Drain in the Kitchen
In a kitchen, prevention begins before anything reaches the plughole. Scrape plates into the appropriate waste bin and wipe greasy pans with a paper towel before washing them. Let cooking fat cool and dispose of it according to local waste guidance.
Dish soap helps wash accessible greasy residue off a strainer or drain rim, but pouring soapy water into a pipe does not guarantee that a grease blockage will disappear. If the sink repeatedly slows down after cleaning, investigate the obstruction instead of repeating rinses indefinitely.
For a double sink, watch both bowls during testing. Water rising into the other bowl suggests a shared drainage restriction. Stop running water if the level keeps increasing.
If there is a garbage disposal, follow its manual for cleaning the splash guard and grinding chamber. Some guards are removable; others are not. Avoid putting fibrous scraps, grease, or cleaning objects into the unit simply because an online tip recommends it. Keep drain-cleaning brushes away from disposal mechanisms unless the manufacturer specifically permits that use.
How to Clean a Sink Drain in the Bathroom
The bathroom stopper is often the best place to start. Hair wraps around its stem and catches toothpaste and soap, forming a soft tangle that slows the opening.
After removing the stopper correctly, pull away visible hair. A plastic hair-removal tool may help with shallow debris in a compatible drain, but use it gently. Do not force it around a crossbar or push it against a mechanism. If it catches, stop rather than yanking hard enough to break it.
Wash the stopper, clean the accessible drain entrance, and reassemble everything before testing. Wipe shaving debris from the basin before rinsing next time.
Some bathroom sinks have an overflow opening near the rim. If residue collects there, follow the sink manufacturer’s cleaning directions. Avoid blindly pushing stiff tools or pouring strong chemicals into the passage. An odor around the overflow may persist even after the main drain opening looks clean.
How to Clean a Sink Drain Without Relying on Baking Soda and Vinegar
The fizz looks busy, which makes this combination appealing. However, bubbling is not proof that a hair tangle or grease plug has dissolved. Poison Control explains that an open drain generally cannot retain enough gas pressure from the reaction to dislodge debris, and the mixture is unlikely to clear tough greasy clogs.
For everyday maintenance, physical removal and gentle washing give you a clearer view of what has actually been cleaned. For a blockage, choose a suitable mechanical method or professional help.
You also do not need to chase drain odors with repeated doses of bleach, acids, salt, or fragranced products. A temporary scent change can leave the underlying residue untouched. If you choose a commercial maintenance product, check that its label allows use with your plumbing and follow it exactly, including any waiting and rinsing directions.
What to Do When the Sink Still Drains Slowly
A slow sink needs a different decision from a dirty but freely draining one. After cleaning the stopper, check whether the problem affects just this fixture or several nearby drains.
For a straightforward sink without a disposal, a sink plunger may help if no chemical cleaner is present. Cover the overflow with a damp cloth, add enough water to cover the plunger cup, and establish a seal over the drain. Use controlled strokes, then check whether drainage improves. On an appropriate double sink, the other opening also needs sealing. Follow the plunger instructions and stop if fittings move or leak.
If this does not work, avoid escalating to aggressive pressure or repeated chemical treatments. A suitable drain cable may reach a blockage, but technique and compatibility matter. Stop if the cable binds or you are unsure about the pipe layout.
The curved P-trap beneath a sink can collect debris. Cleaning it requires catching retained water, protecting seals, and reassembling connections correctly. Only attempt this if you understand the assembly, the fittings are sound, and no drain chemicals are present. Otherwise, call a plumber. Never leave the trap disconnected while using the sink.
Removing Persistent Drain Odors
Understanding how to clean a sink drain also means recognizing when the smell comes from somewhere you have not cleaned. Check the strainer’s underside, stopper, accessible overflow, and disposal splash guard if fitted.
For a rarely used sink, run water to replenish the trap’s water seal, then reassess. If the smell quickly returns, there may be another reason the seal is being lost.
A persistent sewer-like odor, repeated gurgling, or smells affecting several fixtures deserves professional investigation. Cleaning cannot correct every venting, drainage, or sealing problem. If the odor is strong and you cannot tell whether it comes from plumbing or a possible fuel-gas leak, leave the area and contact the relevant emergency service from a safe location.
Common Mistakes That Make the Job Harder
People researching how to clean a sink drain often find suggestions to add more products when the first attempt fails. That is a poor troubleshooting strategy because you lose track of what is inside the pipe.
Avoid these habits:
- Washing removed hair and food debris back into the sink.
- Forcing a stopper that has a concealed connection.
- Treating boiling water as safe for every installation.
- Using a wire hanger that can catch on internal fittings.
- Plunging a drain containing chemical opener.
- Ignoring damp cupboards or recurring backups.
Also avoid judging the result only by smell. A fragranced product may mask an odor while water continues to drain slowly. Check the actual flow, and inspect any disturbed joints.
A Simple Maintenance Schedule
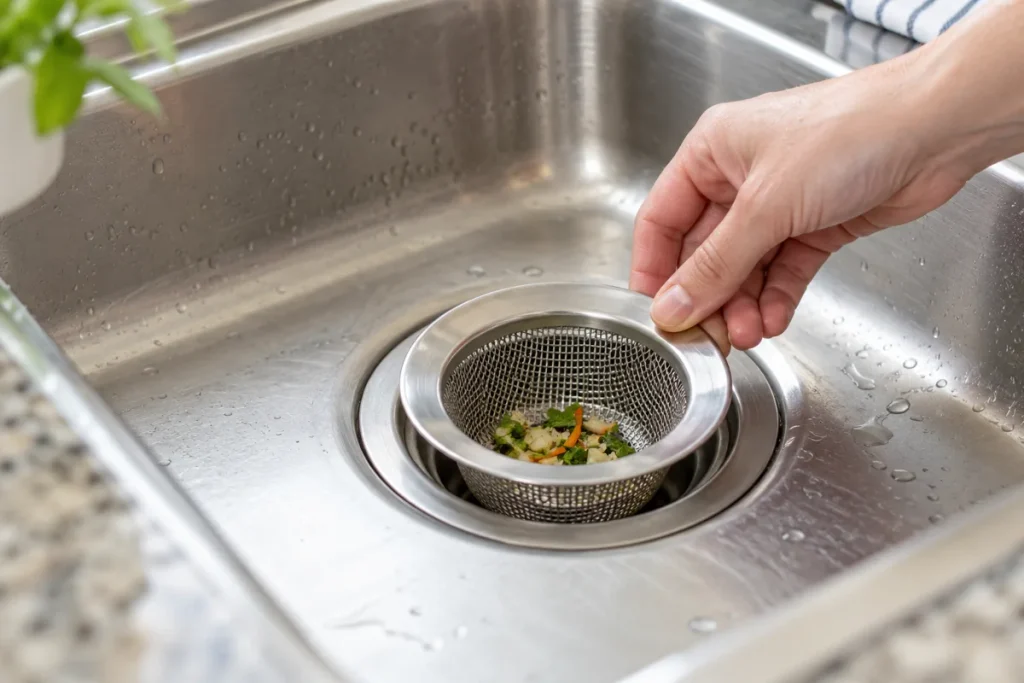
After daily use, remove visible scraps and hair. Empty strainers into the trash and rinse the basin so residue does not sit around the opening.
Once a week, wash the strainer or accessible stopper surfaces and wipe the drain rim. Adjust that routine to suit your household: a busy family bathroom may need attention more often than a guest sink.
About once a month, inspect removable components for hidden buildup and look under the sink for moisture. This is a practical starting point rather than a fixed plumbing rule.
When you first notice slower drainage, deal with it promptly. Keeping a simple record of repeated problems can help a plumber distinguish an occasional hair tangle from a recurring restriction.
Before putting your supplies away, spend a minute checking the cupboard below the basin. Dry the area first, then look for fresh moisture while water runs. A small drip is easier to spot against a dry surface than among old cleaning spills. Keep stored bottles clear of pipe joints so future leaks remain visible.
If you rent your home, report recurring drainage issues to the landlord or maintenance team before taking unfamiliar pipework apart. Describe when the problem happens, whether another fixture is affected, and what you have already tried. Clear observations are helpful; there is no need to guess which hidden pipe is responsible. Save any relevant product packaging if a cleaner was used.
Frequently Asked Questions
What is the easiest way to learn how to clean a sink drain safely?
Start with a freely draining sink that contains no chemical cleaner. Remove the strainer or stopper according to its instructions, lift out debris, and wash accessible parts with warm water and mild dish soap. Reassemble and test. Stop if removal requires force or unfamiliar disassembly.
Can I clean the drain without removing the stopper?
You can wipe the rim and clean whatever is safely accessible. However, residue often gathers underneath the stopper. Check its removal instructions before deciding whether a more thorough clean is practical. Do not force a tool through a narrow gap around it.
What should I do if I need to know how to clean a sink drain after using chemical opener?
Pause mechanical cleaning and follow the opener’s label. Do not add vinegar, bleach, or another drain product, and do not plunge or dismantle a drain that may contain corrosive liquid. If it remains blocked, contact a plumber and identify the product used.
Should I use an enzyme drain product?
Some products are intended for ongoing maintenance of organic residue. Their uses and contact times vary, so check the label and plumbing compatibility. Do not assume they will clear standing water, retrieve an object, or fix a damaged pipe. Never combine them with other cleaners unless explicitly directed.
When should I call a plumber?
Call when several drains back up, the same blockage repeatedly returns, joints leak, or a sink remains blocked after straightforward debris removal. Persistent sewer odors and gurgling also warrant attention. Professional diagnosis is more useful than repeatedly treating symptoms with different household products.
Conclusion
Knowing how to clean a sink drain starts with a few manageable habits: catch debris, wash removable parts, clean accessible surfaces, and check the result. Most routine upkeep is straightforward when you use suitable tools and respect the drain’s design.
If water still pools or odors keep returning, investigate the cause instead of adding another cleaner. A little regular maintenance helps keep sinks fresh, while timely professional help can resolve problems that surface cleaning cannot reach.